- - - - -
Step 1:
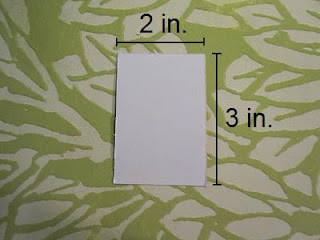
Cut a bi-colored piece of paper 2 inches by 3 inches.
- - - - -
Step 2:
Fold in half horizontally/ downward/ hamburger-style.
- - - - -
Step 3:
Fold in half vertically/ sideways/ hot dog-style.
- - - - -
Step 4:
Open once and fold the top corners to the center line.
- - - - -
Step 5:
Unfold back until this point. You just made score lines for the next steps.
- - - - -
Step 6:
Lift the top layer of one side and tuck the top corner inward.
The first picture is what it looks like when you lift up the left side.
Repeat on the right side.
- - - - -
Step 7:
Lift up the left side again and flatten it to make it your new front.
Flip over and do the same to the backside.
- - - - -
Step 8:
Spin upside-down and fold the inner corners downward just past the line.
Make sure to leave a space at the ends for wing tips.
- - - - -
Step 9:
Unfold what you just did. These are score lines for the next step.
- - - - -
Step 10:
Lift one layer and tuck the inner corner inward. Repeat on the other side.
The top picture is what the right side looks like when lifted.
- - - - -
Step 11:
Pull the top left layer downward and flatten. Repeat on the right side.
- - - - -
Voilà!
A bona fide butterfly!
_ " _
(_\|/_)
(/|\)


Wow! I might have to try that one. I teach a cooking class in our after school program and we're visiting a different country through food each week. This might be a craft I can add to our Japan week! :) Thanks!
ReplyDelete